Saturday, 12 October 2013

Leaves, Leaves, and More Leaves!

Our outdoor yard has a number of different trees. The students were beginning to notice changes in the leaves. Many leaves began to enter our classroom as students asked questions and wondered about the red leaves. 


Ms. Eslami suggested we take a walk around our playground and look at the trees in our yard. We have many different types of trees and the students were excited about touching and looking.


Students told us what they saw...

D.K: I see leaves falling down and off the tree

K.B: there are red leaves on the grass, some are yellow

: I see red leaves (holding up one leaf) this one is red

A.B: some leaves are starting to fall

: some are orange

T.K: I think we need water

A.L: the wind is blowing leaves down

: I saw a pinecone on the ground

P.D: I have a leaf I see dirt on it

M.P: I see leaves on the grass

E.M: my trees at home that has points that don’t come off, one is here (pointing to the pine tree)

D.K: it smells like pollen

C.C: I see tree

E.K: the tree

We moved to look at different trees in the yard that have different types of trees. 

A.M: I see green and yellow

K.B: (holding a red leaf in her hand) these leaves don’t look the same. They aren’t the same shape and colour. They won’ be red, they will be yellow

A.L: I wonder why some are still green

Looking at the pine tree...


: it will all look like this (holding up the dead pine needles)


We have been reading a lot of different books about leaves and about fall. Students have been excited to look outside and observe the different changes that are happening right in our own yard! We have learned there are a lot of different types of leaves! One book we read called ‘Autumn Leaves’ has taught us a lot of different types of leaves!


We sat in a circle on our carpet for a class meeting. Each student was given their own leaf to hold and explore. At different times throughout the month students have been told about ‘detective eyes’. This is when they look very closely and look to see all the of detail around them. This doesn’t just mean what they see, but what they can touch, hear or smell. Students looked at their leaf using these ‘detective eyes’ to see all the details they could.

Ms. Tompkins: Examine your leaf. What do you see?

- there are spikes on it 

E.M- I see about mine is it has stripes on his leaves


D.K- I see lots of stripes on the back, so much that it looks like its one thousand, on the top, bottom and middle

A.M- I see some dark spots on the back and on top

- I see kind of like white looks like there are worms

- I think mine has a little hole

- I see spikes, my leaf is yellow

- mine is so yellow and changed colours

T.K- I see brown

D.Z- I see spikes

P.D- I see a tiny hole

A.L- It’s changing colour (pointing to the stem)


- it’s called a stem

E.K- it’s red 

D.S- it’s brown has a big hole


V.A- I see lots of colour changing, yellow, black and red


N.M- I see yellow

M.P- I see holes

A.K- I see spikes

C.C- I see spiders


D.R- it have spikes on it

D.D- Mine has red and yellow on it

K.B- it’s sharp

A.B- it’s pointy and sharp

Z.H- I see a stem

Students were encouraged to use the leaves in their daily writing during Thinking and Learning Time. Many students used the leaves for pictures and art.

K.B- stem connects to the tree so it grows

Z.H- the leaves turn brown and red and fall


Ms. Tompkins found a large maple leaf and brought it in to show the students. They were amazed. We decided to look closely at it by putting it on the light table. Then she put an overhead sheet on top and traced all the details she saw. We talked about how we could add writing to it and hang it up for our daily writing.


 Students were excited to get their turn to look at all the details of the leaf and draw it on the special overhead paper.


 Stay tuned to see what we do with these :)

Friday, 11 October 2013

Our Sand Dollar Inquiry Continued

During a class meeting, we had our sand dollars on the carpet. Ms. Tompkins asked the students “What do we know about sand dollars?”


 Z.H- we learned about it and it’s a sand dollar, it has a star on its back

D.K- they move slow and they dig in the ground. I wonder how they shut their mouths

E.M- the sand dollar is different sizes, the star is longer on one side

P.D- that they are purple and spiky when they are alive and have a white thing on the bottom

A.M- the sand dollar is still not alive

D.R- the hole on the bottom is his mouth

D.S- it is happy

D.D- they stick to stuff 

A.K- the water flows 

- I hear the noise

Ms. Tompkins- I wonder what the noise is, what do you think it could be (we all went quiet and shook it so we could hear the noise)

K.B- the food or it might be a tongue

A.L- sand inside it because I saw the sand on her (pointing to a student shaking the sand dollar)

V.A- I think they have water 

N.M- something that’s blue

E.M- I saw it’s throat, I wonder if its throat makes him eat

T.K- it’s sand

E.K- it’s sand

- they are bugs

C.C- waterfall

M.P- sand

- sand

A.B- I saw some white stuff in it

D.D.- maybe there is a baby dead inside it

P.D- I wonder if they turn into a purple sand dollar

We talked about how we could find out what is inside it. Ms. Tompkins suggested breaking it open. This suggestion was met with mixed reactions. Many students felt upset about breaking it, whereas others were curious to find out what was inside. After a discussion, we decided to break it open to find what was inside.
This is what we found: 


We counted and found there were 5 objects inside.


Ms. Tompkins- what do you think these are?
K.B- skin

E.M- eating little birds that are babies but he doesn’t like chickies

K.B- looks like butterflies

E.K- butterflies

T.K- birds

- part of his mouth 

P.D- looks like a trampoline 

A.B- maybe they are bones

D.D- why was it dead?


 Ms. Tompkins moved the the 5 pieces together to make a star shape.


D.R- it looks like like a star

D.K- it’s a star because it might have hanged on it

The students (and the teachers!) were curious to know what they were. We decided to research to get information about what the 5 pieces might be. We found a website that told us they were the sand dollar’s teeth! The fancy science name for the teeth is ‘Aristotle’s Lantern’.

The feeding strategy of sand dollars is fascinating. Their bodies are covered with tiny appendages (feet) to capture food particles small and large. Tiny cilia (extra small hairs) on the sand dollar’s spines sweep up small bits of food and tiny tube feet adeptly collect larger food pieces. Once food is caught the tiny appendages (feet) on the sand dollar work together to sweep food towards the mouth, which is located at the center of the five-petal flower pattern on bottom. The mouth has a five-toothed set-up called Aristotle’s lantern for chomping food. 
To help us understand how the sand dollar eats its food, the students pretended to be the feet of the sand dollar. We stood in a circle with the mouth being in the centre and moved the food from foot to foot and into the mouth. It was exciting to see how the food moved from one ‘foot/hand’ to the other. We repeated the words ‘Aristotle’s Lantern’ a few times to learn the special science words for the 5 teeth. 

We left the sand dollars and the middle pieces on the carpet for students to look at. We also ensured the magnifying glasses were close by.
A.L- it looks scary inside...lots of teeth in there
P.D- I see big holes


E.K- (pointing to the Smart board) sand dollar purple. E.K was very curious about how the sand dollar could be put back together. He found all the pieces and fitted them all back together.

A.L- I wonder how the sand dollar has the babies pop out of it


As a way to conclude our Sand Dollar Inquiry, we wanted a place for students to show what they learned about sand dollars. Ms. Tompkins brought a big brown paper and said she would like the students to show what they learned. We came up with the idea of drawing and writing about what we learned about. During Thinking and Learning Time students could add their knowledge and understanding of sand dollars to the paper. 

What was created was beautiful.

A.B and K.B drew sand dollars in houses. We asked them why they did this and they said it was a “sand dollar neighbourhood”. In the article “7 Swinging Sand Dollar Facts” (http://oceanwildthings.com/2012/05/7-swinging-sand-dollar-facts/ ) we learned they live in groups, kind of like neighbourhoods. More students came to join in and loved the idea of a ‘Sand Dollar Neighbourhood’. Our paper wasn’t big enough for all the houses, so we had to get a new paper for the students to add to the artwork. 


Students also created their own representations of sand dollars during Thinking and Learning Time. 


Such amazing learning happened and many curriculum expectations were covered in Language, Science and Personal/Social Development. 

Here is a photo of our Sand Dollar Inquiry documentation wall in the classroom, celebrating the learning we have done.


What is exciting is that the students still have wonders about the sand dollars!


Do you have any wonders about the sand dollar?
Please feel free to share them with us.

Thursday, 10 October 2013

Our Classroom

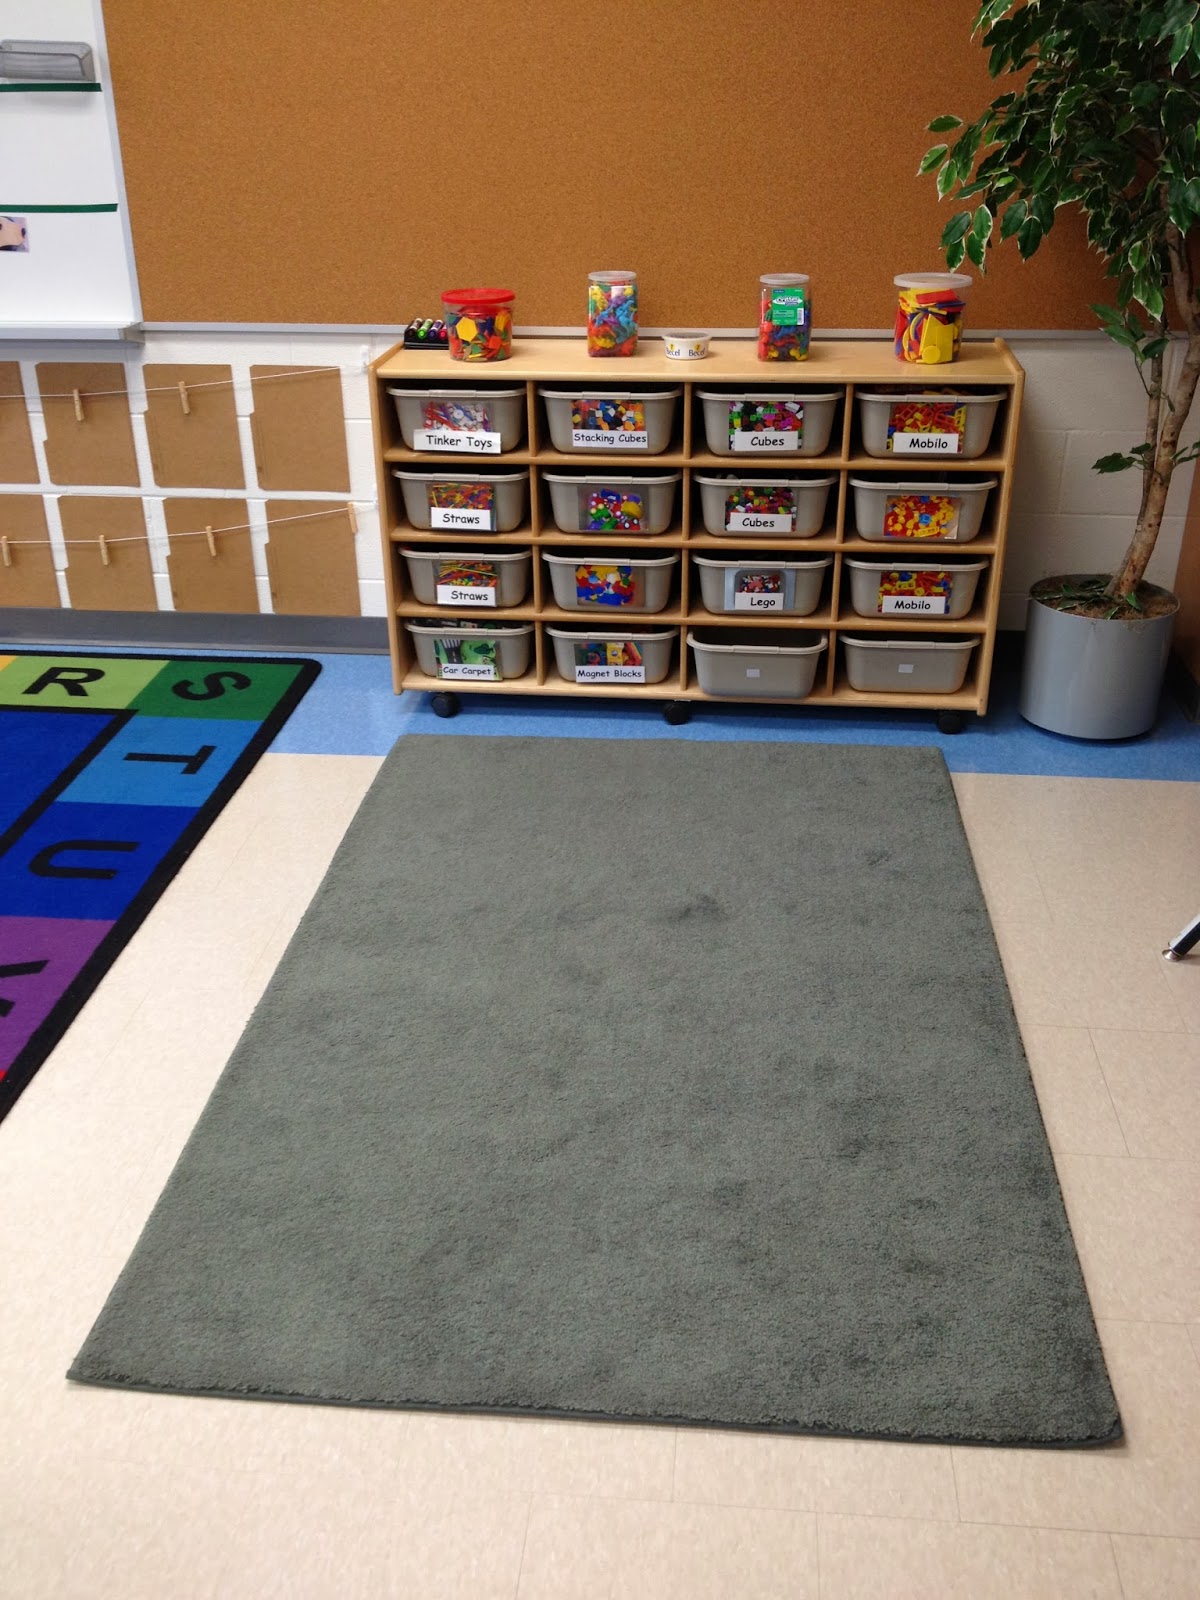
If you haven't had a chance to come and visit our classroom, let me give you a tour.

Our Writing Centre

Our Arts and Mixed Media Centre

Our Math Centre

Our Co-Constructed Alphabet with Braille letters

Our Personal Best Work

Our Inquiry Table
Featuring: Leaf/Autumn Inquiry

Our Building Centre

Our Learning Goals

Sand Table

Our Family Wall
CDs were decorated during the Meet The Teacher BBQ by the families in our class


Documentation of our Sand Dollar Inquiry

Our Co-consructed Number Line